Unravel the Beauty that Lasts Forever With Premium Natural Stone Paving
Explore our exclusive range of natural stone paving, slabs, and tile flooring, crafted for timeless elegance with durability.
Shop NowSecure Transaction
Timely Delivery
Certified Quality
Customer Satisfaction
Reasonable Price
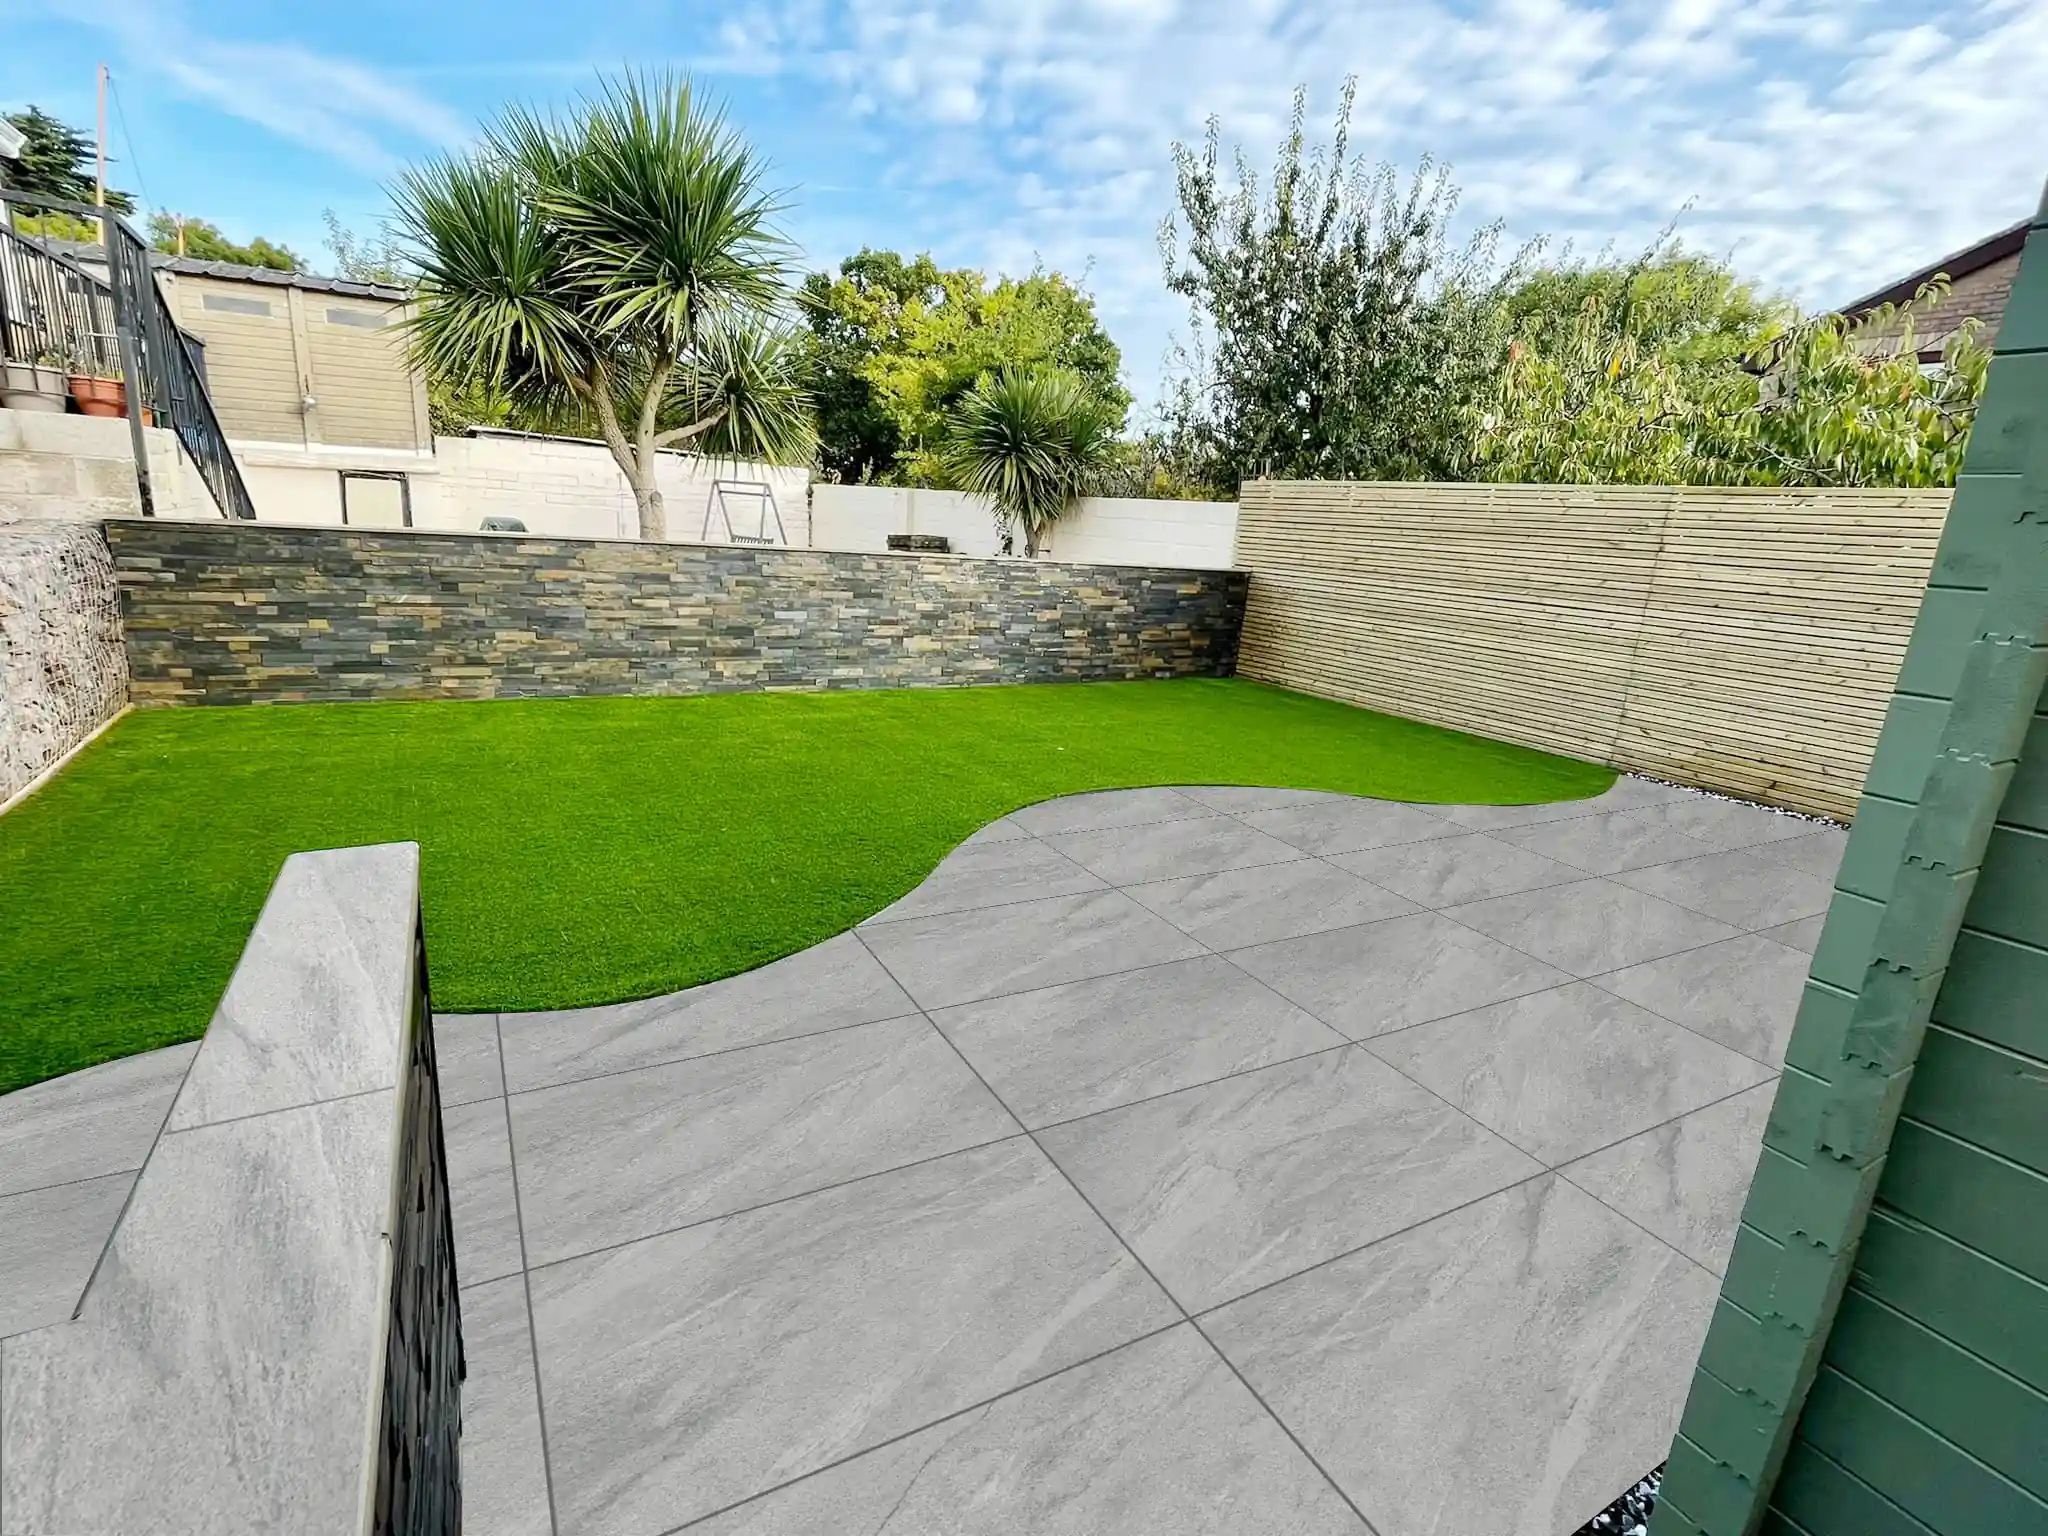
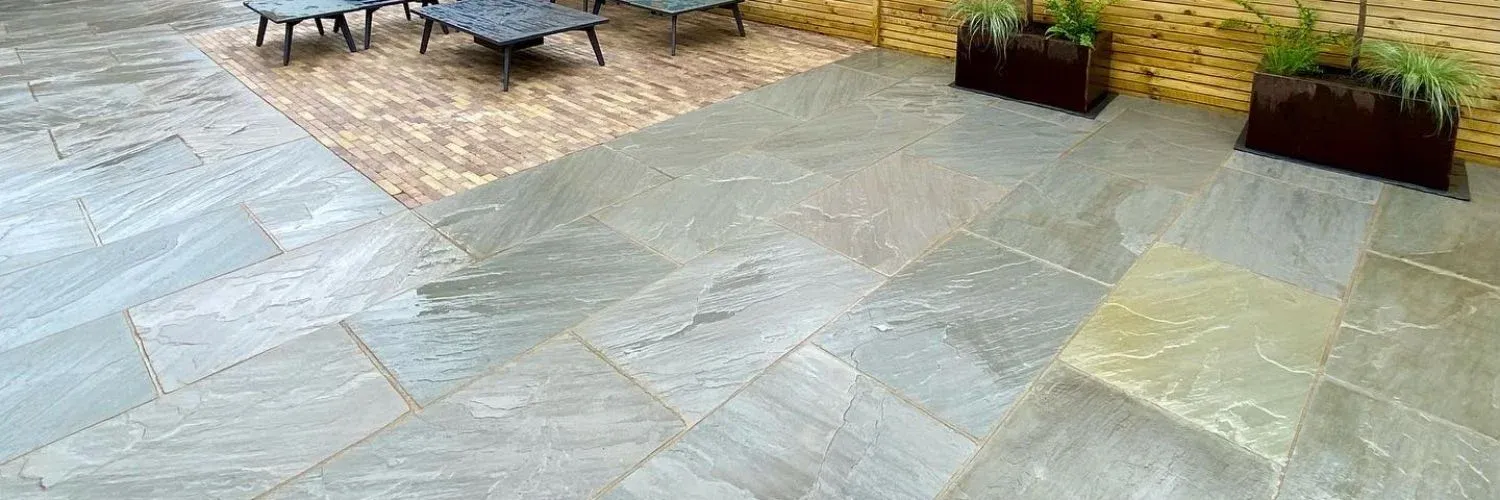
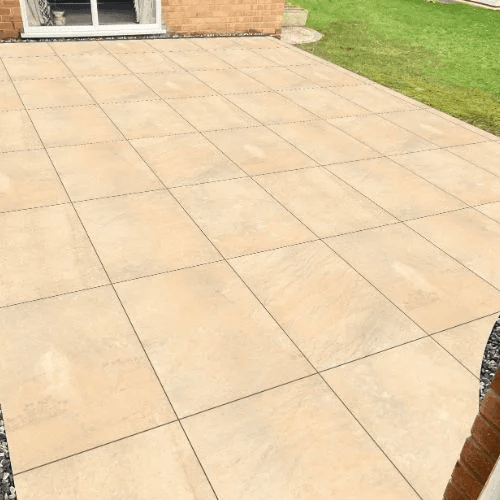
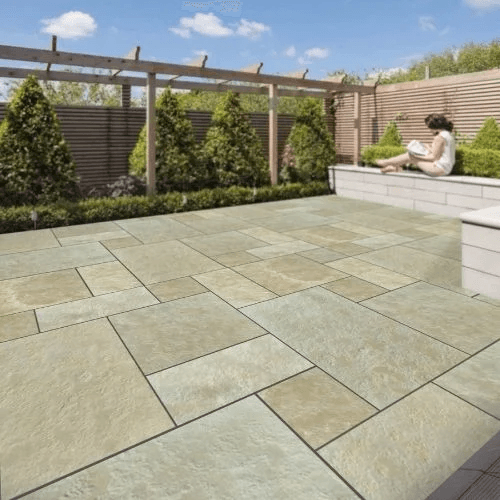
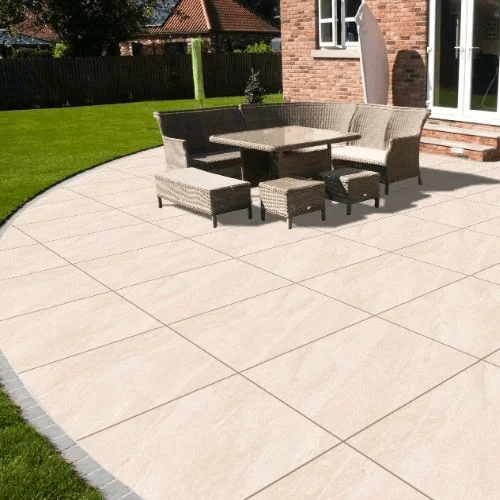
Featured Categories
Explore our featured porcelain tiles, sandstone paving, limestone, and premium stone collections across the UK.
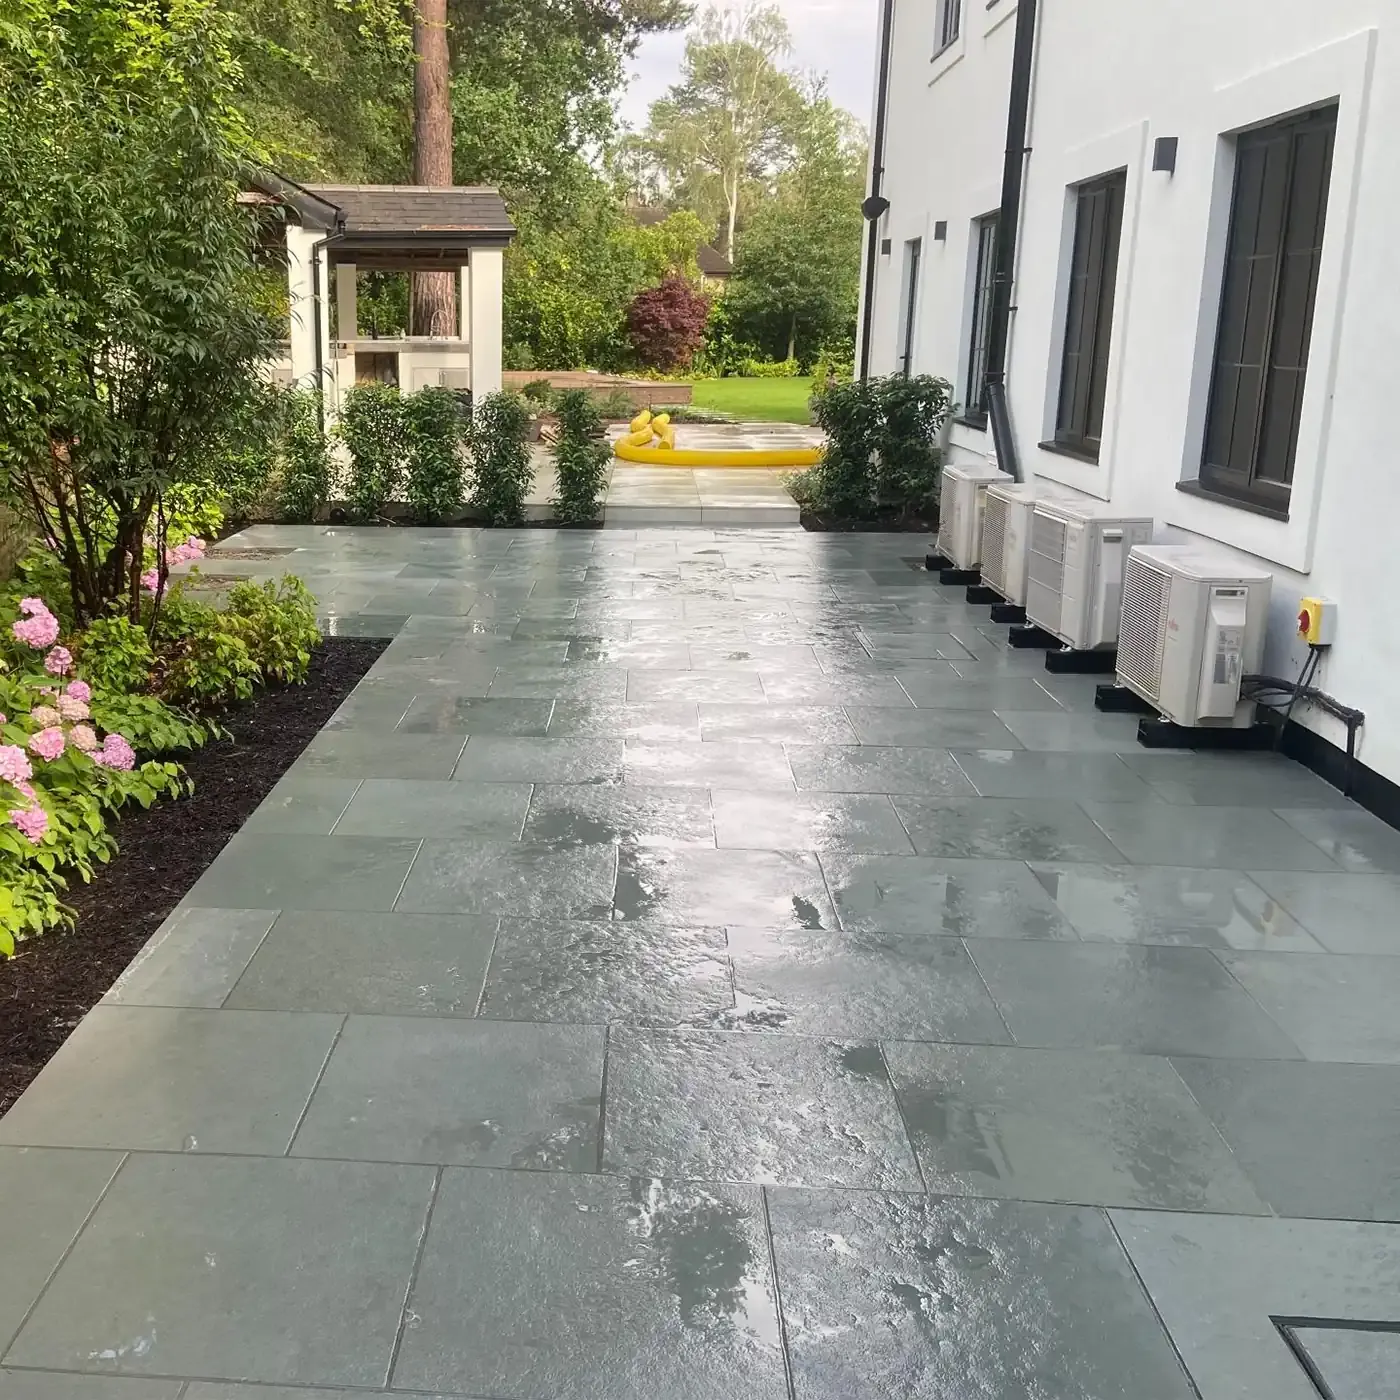
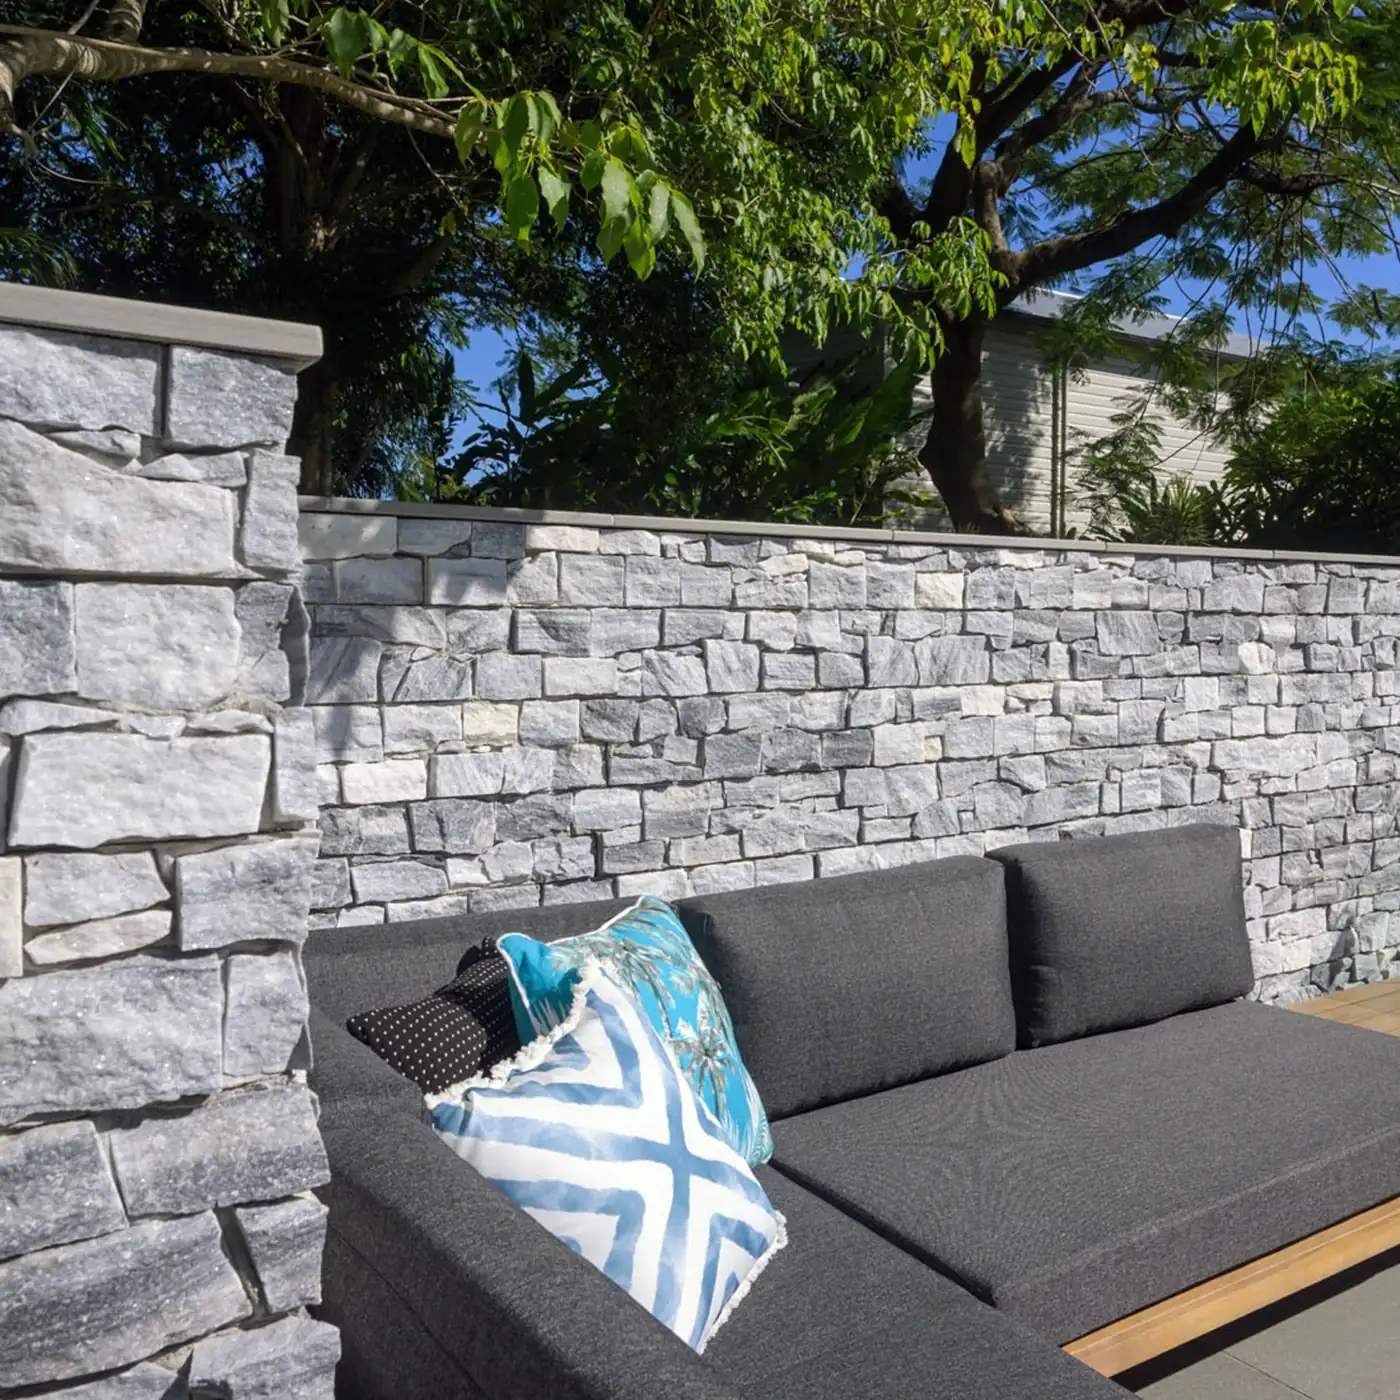
Natural Stone Wall Cladding & Exterior Facade Solutions
Explore our premium collection of stone wall cladding designed for exterior walls, garden features, and architectural facades. Available in a range of textures and finishes, our cladding products deliver durability, weather resistance, and timeless style across the UK.
Our wall cladding range includes natural stone finishes ideal for feature walls, outdoor landscaping, and modern architectural designs. Easy to install and built to last, Stonecera cladding adds depth and character to every surface.

Happy Customers2.5M+

Trusted Partner300+
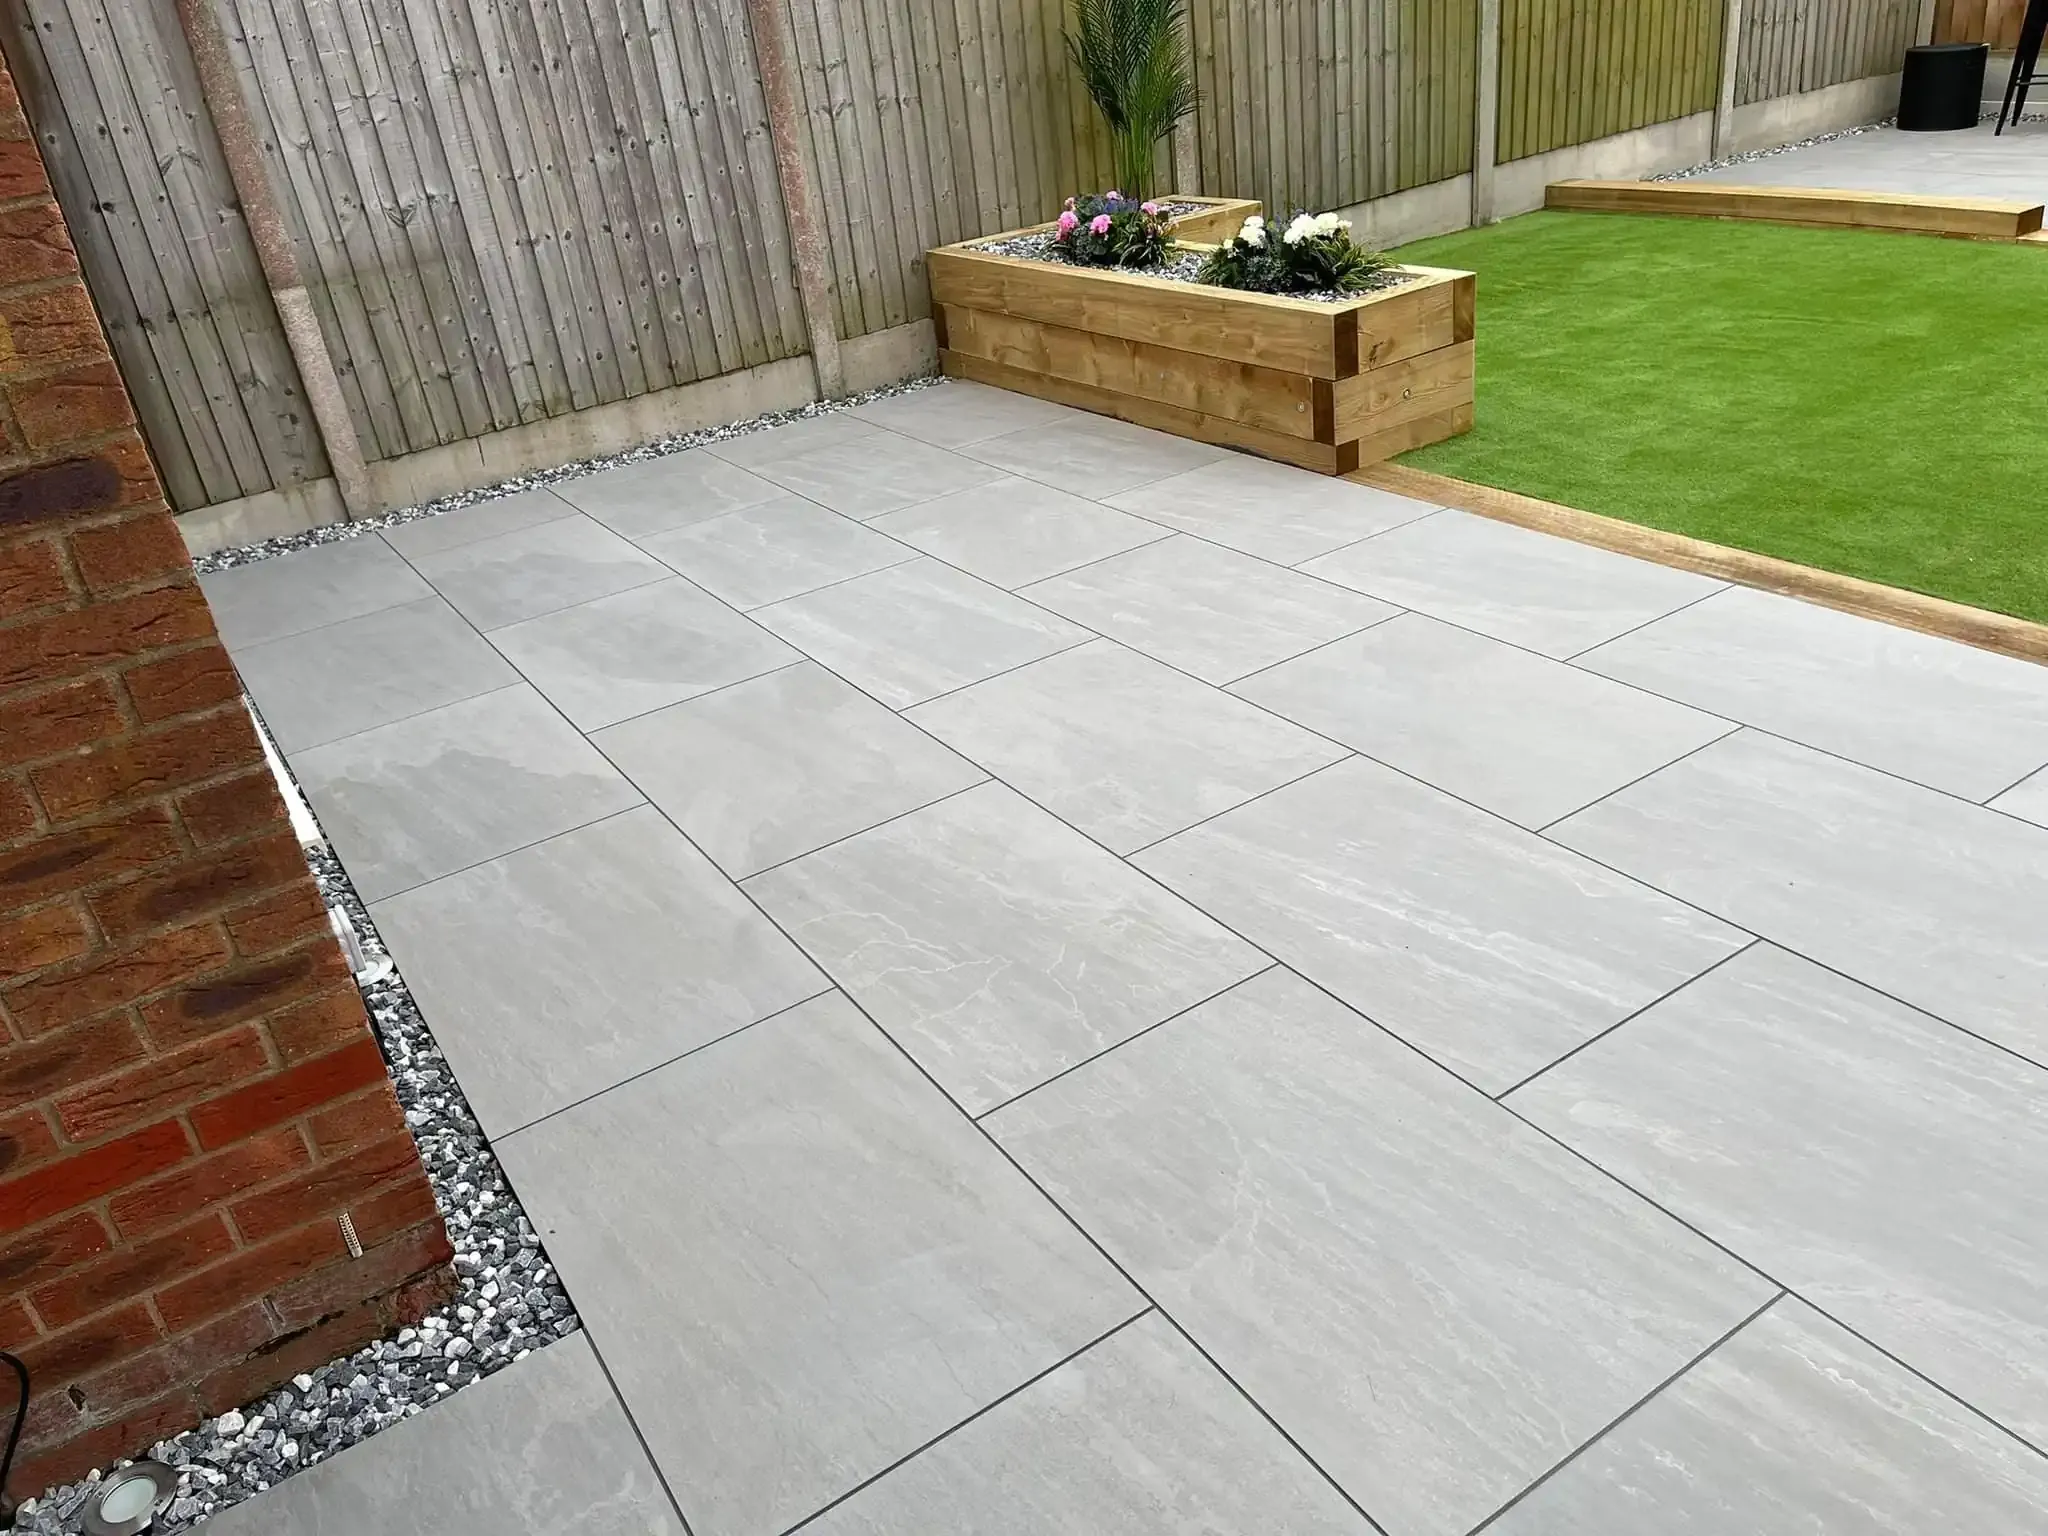
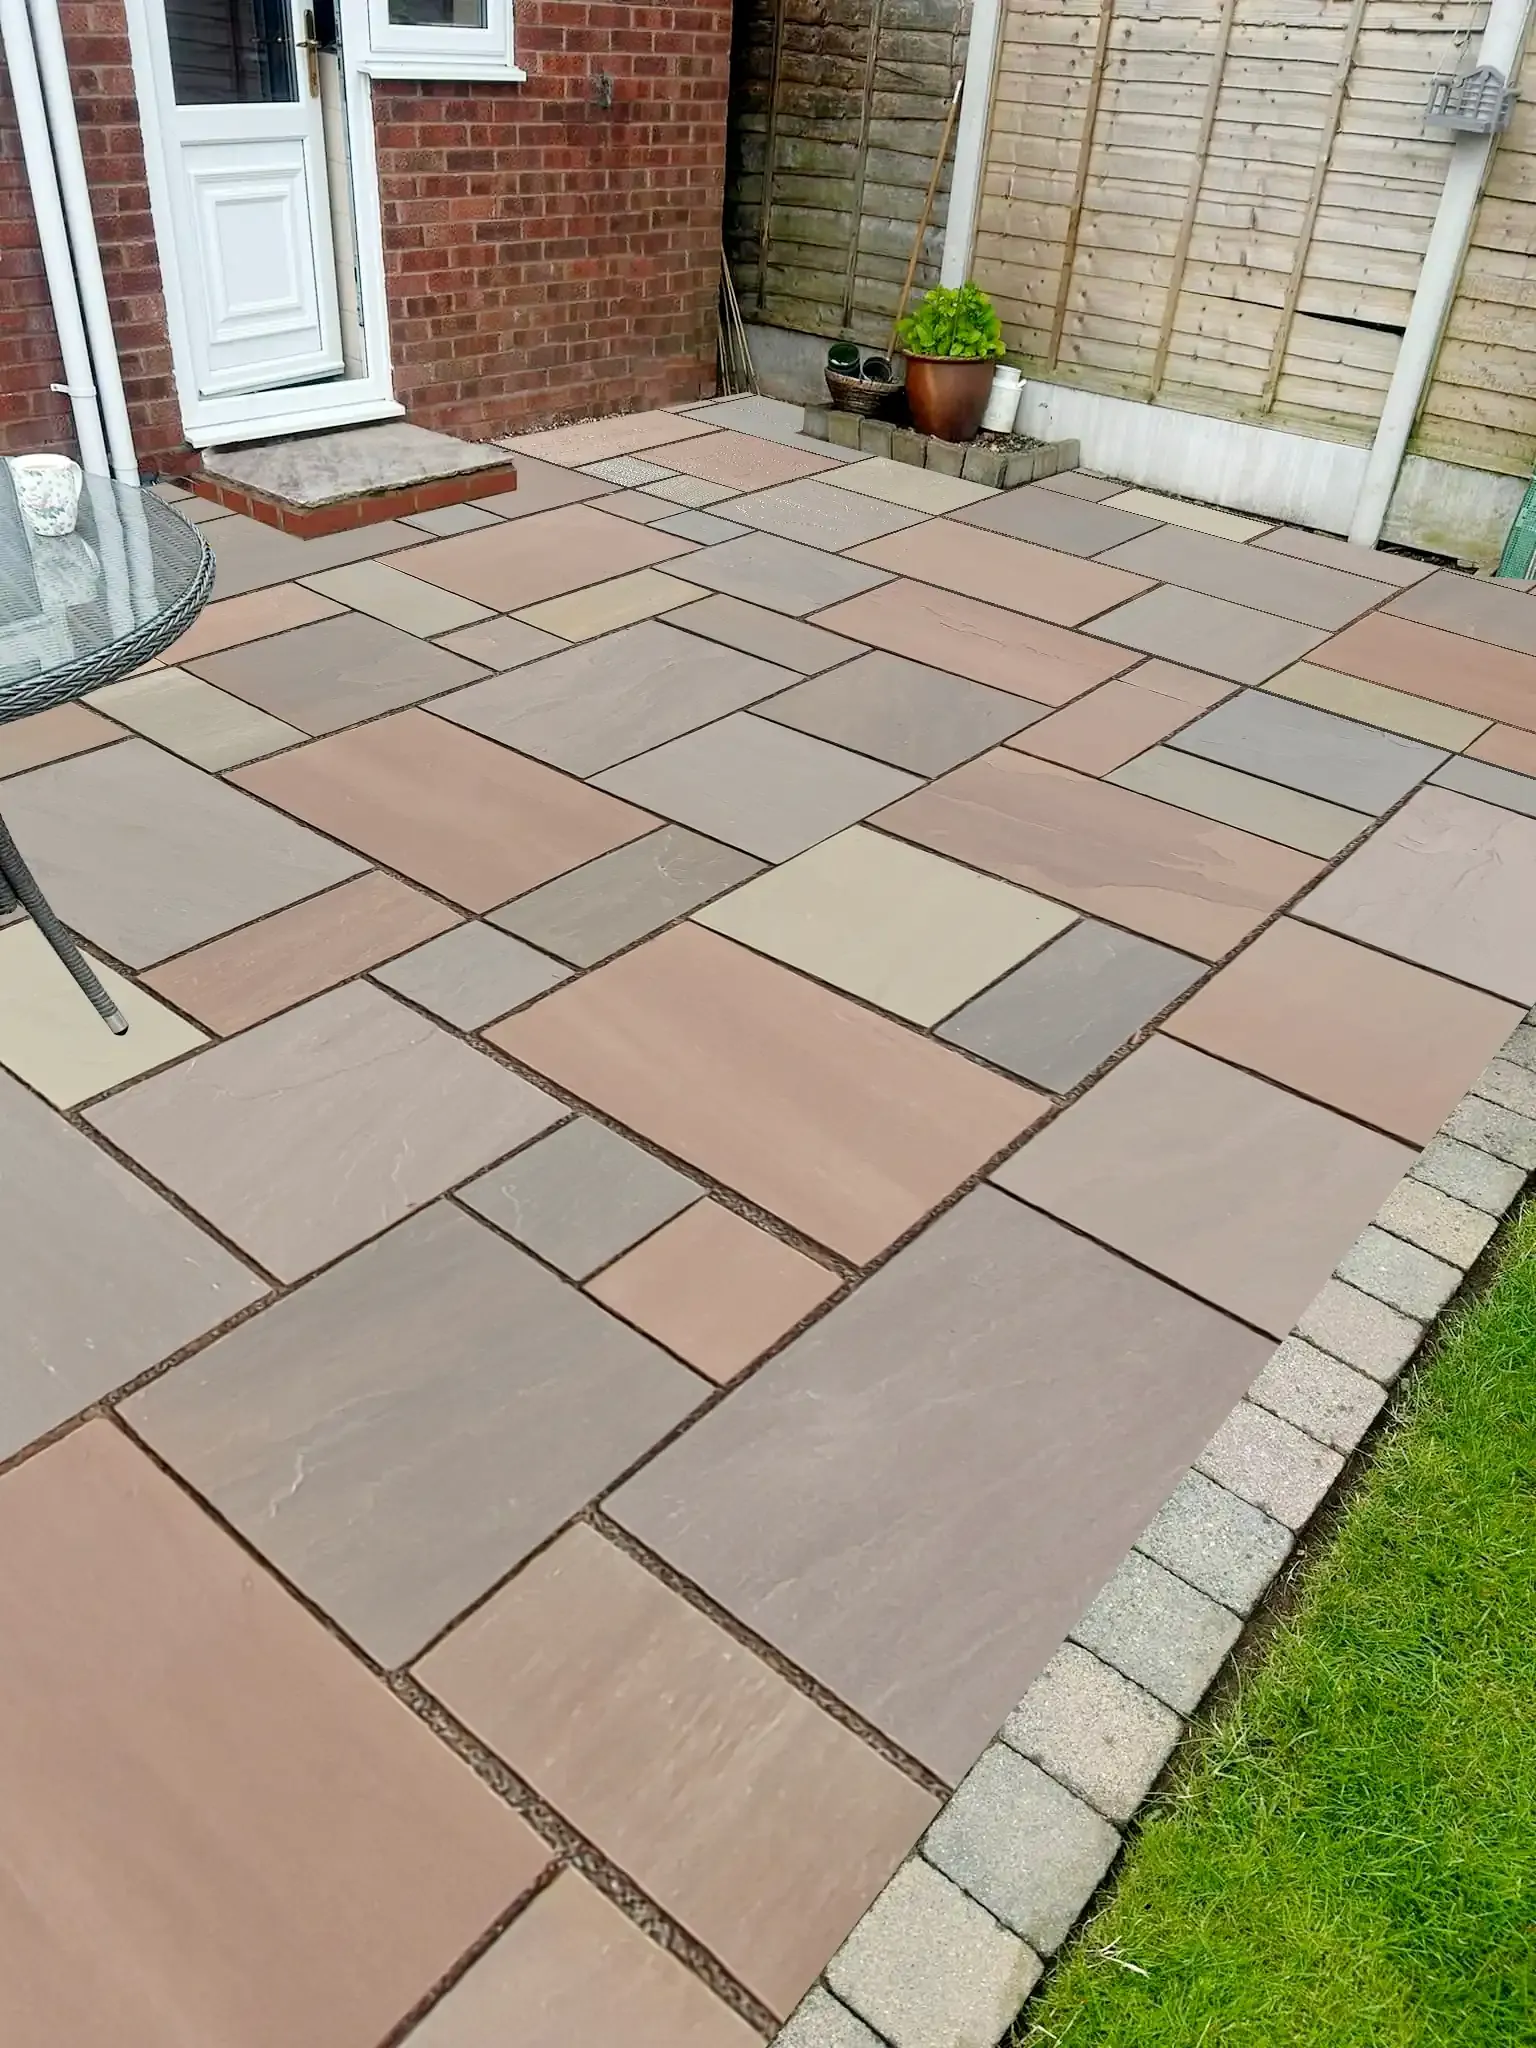
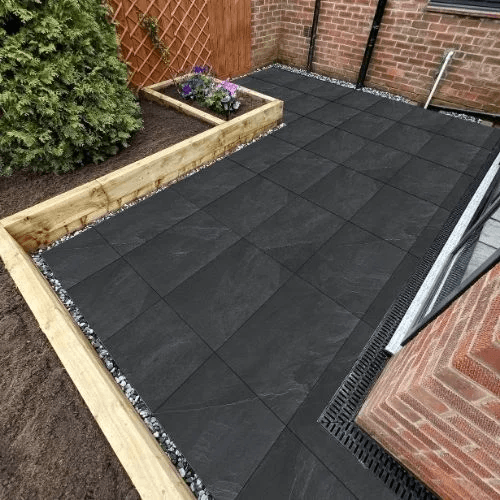
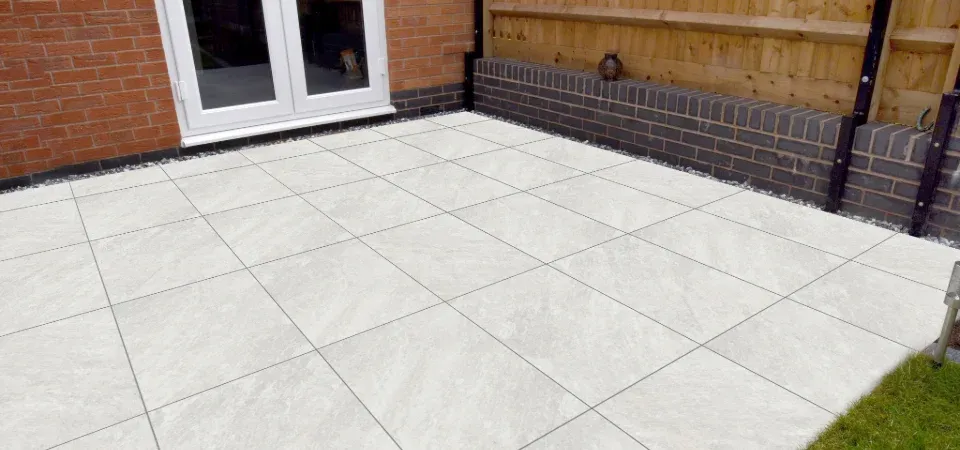
Best Seller
Browse our best-selling porcelain tiles, sandstone paving, limestone slabs, and premium natural stone products.
Experience the Difference: Customer Reviews
See why we are the topmost choice for our customers across the UK for their natural stone paving requirements.
Our Latest Blogs
Read our latest blogs and get relevant information about natural stone paving slabs and engineered stones.
Jaya Tripathi
|2026-02-06
Learn the Art of How to Clean Outdoor Porcelain Tiles for Lasting Beauty
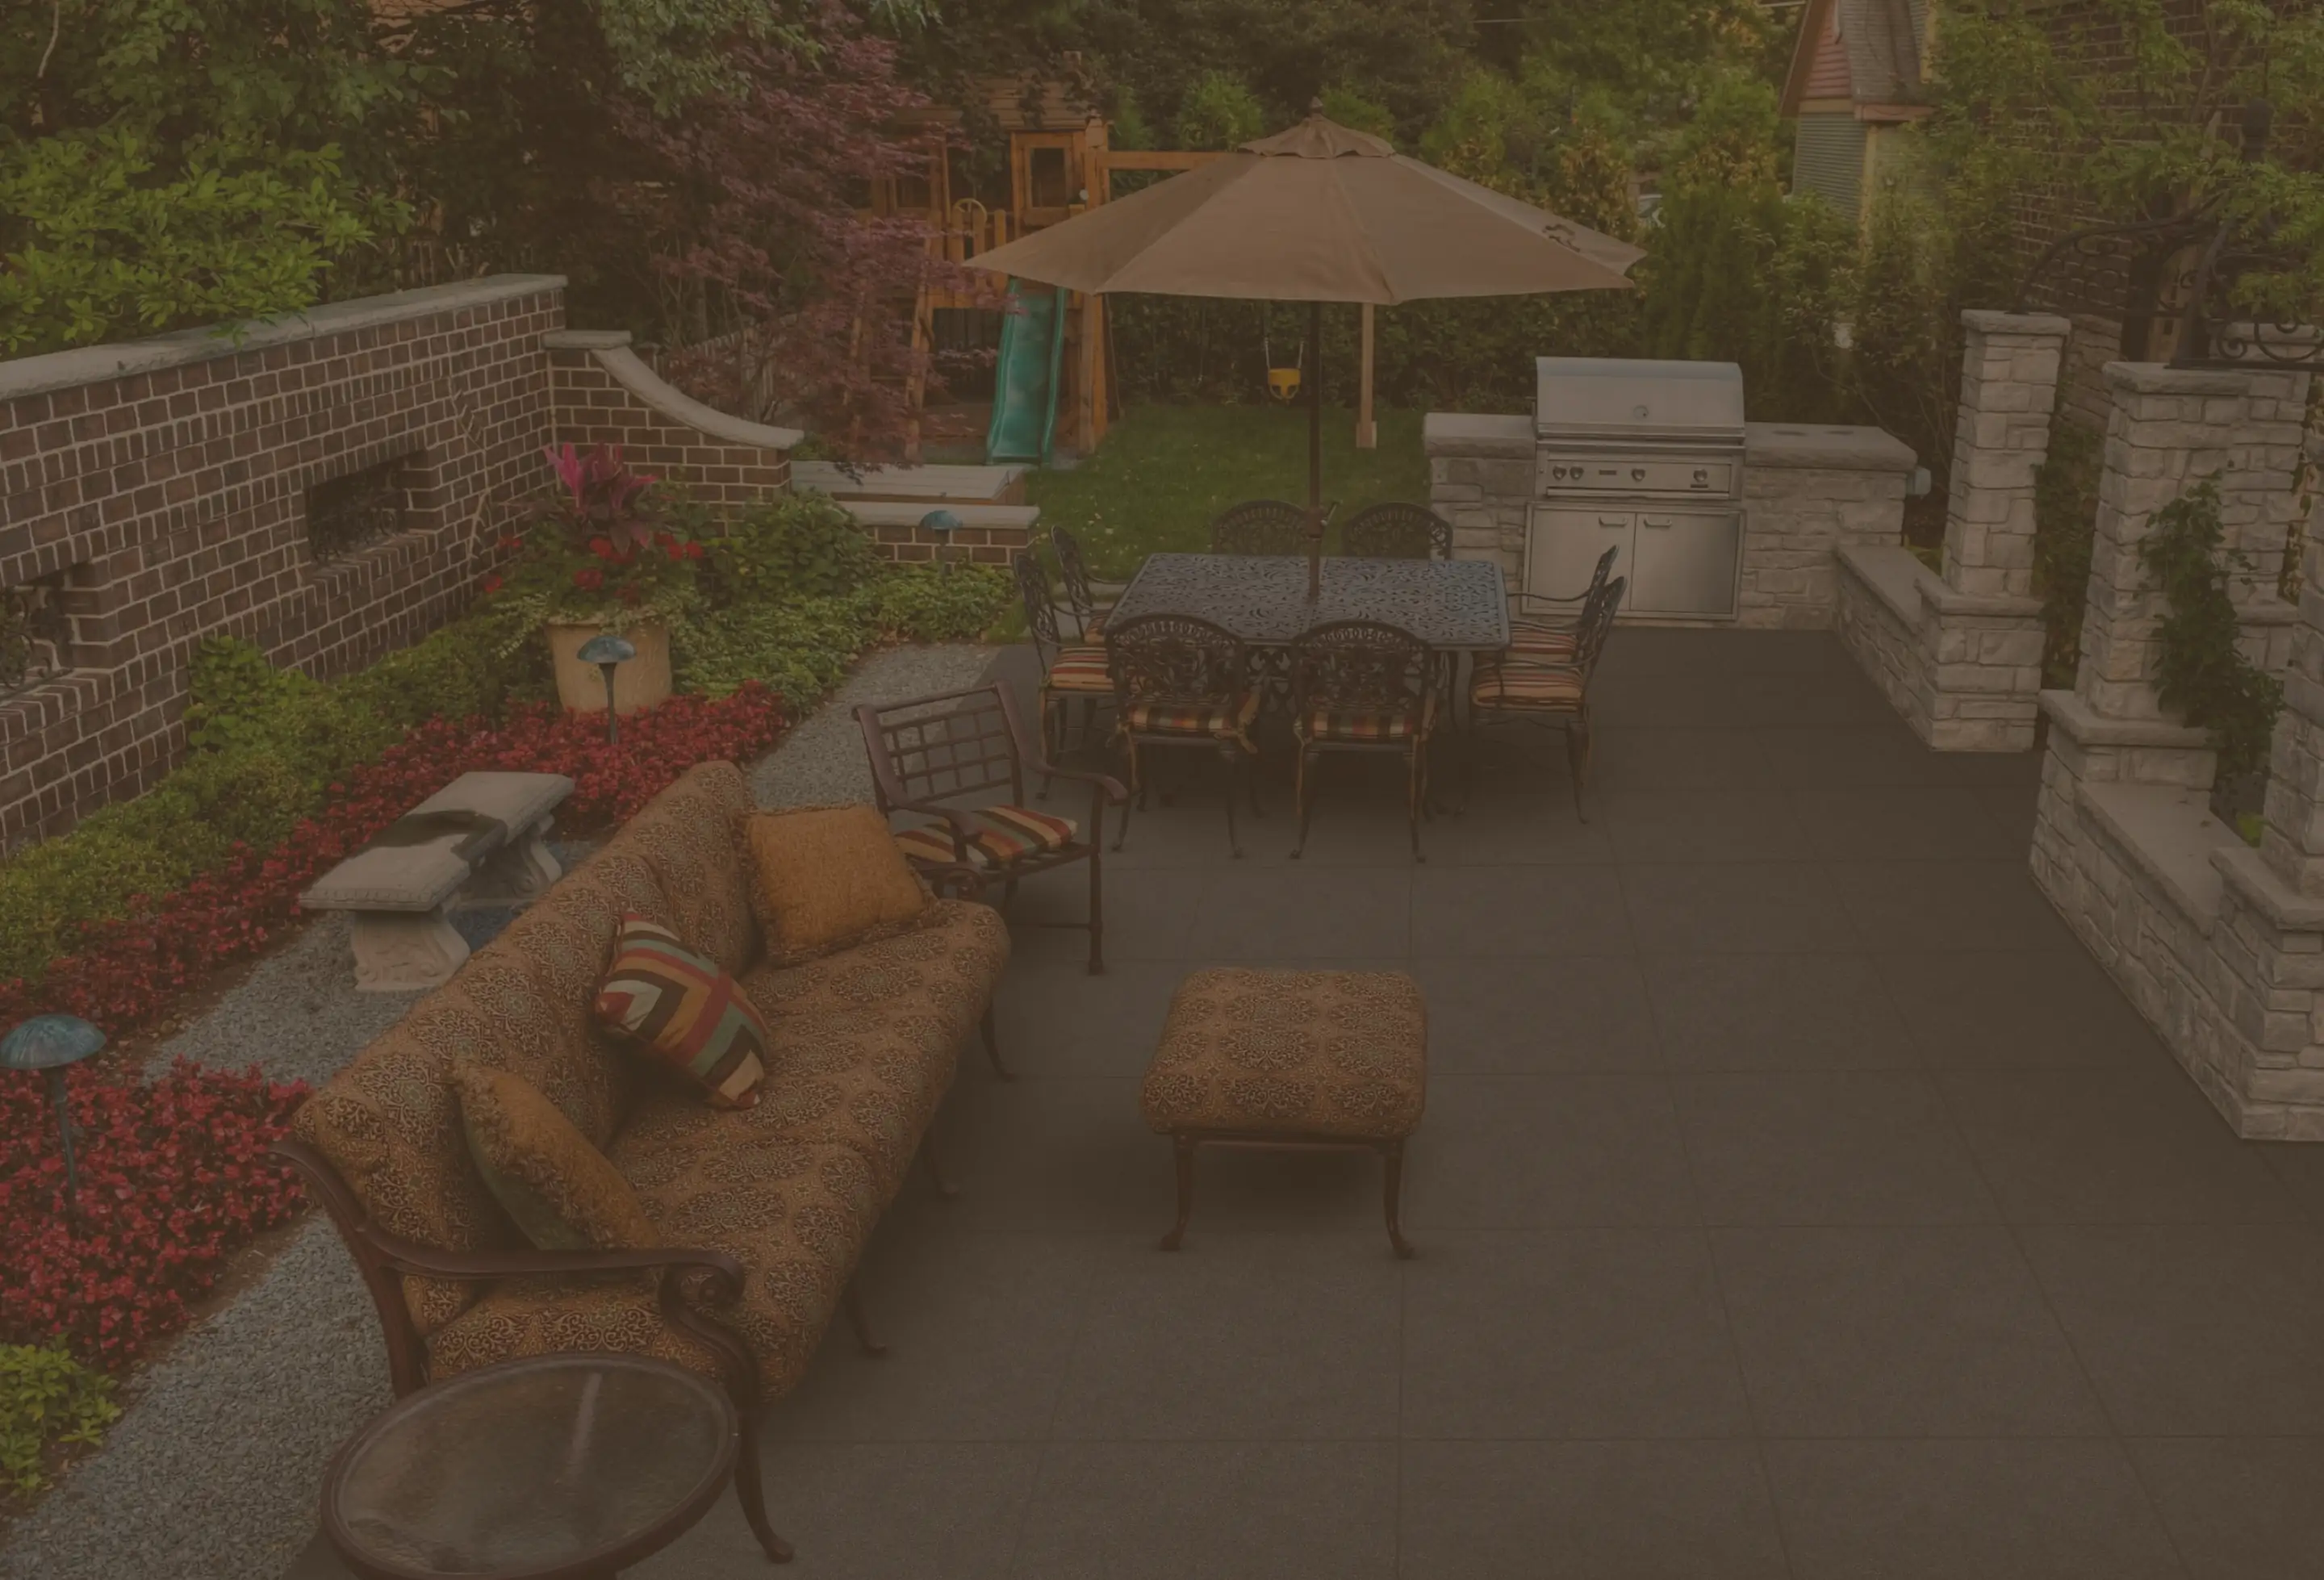
Have you ever been on a perfectly paved patio or seen an immaculate outdoor kitchen with porcelain slabs? If so, you may already be a fan of this wonderful architectural stone.
Jaya Tripathi
|2026-02-06
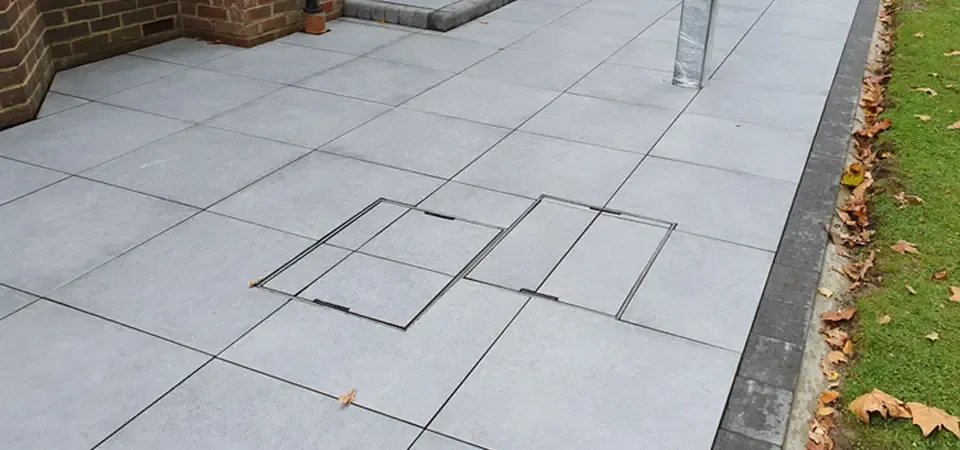
How to Lay Outdoor Porcelain Tiles: Steps to Consider
Are you considering a garden renovation or any outdoor space? No worries! This guide will help you. Outdoor Porcelain tiles are one of the best to offer when it comes to an exclusive aesthetic look for your home.
Jaya Tripathi
|2026-02-06
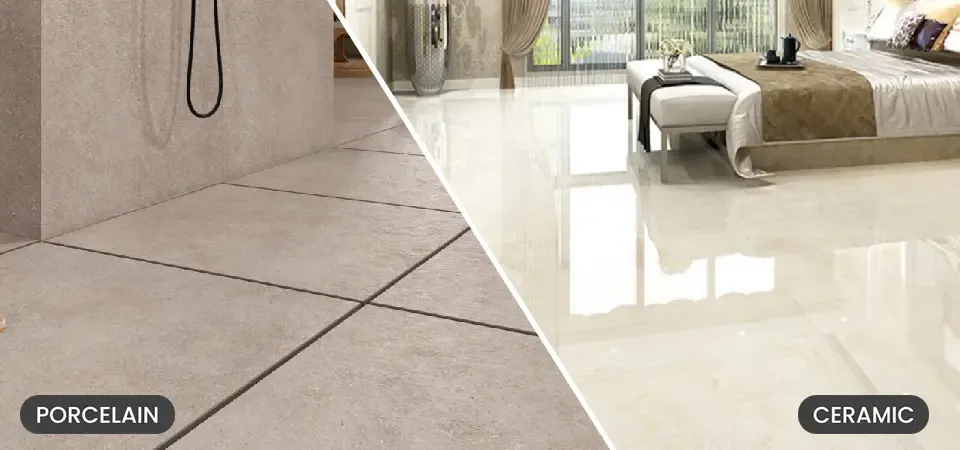
Porcelain vs Ceramic Tiles: What Should You Choose and Why?
Ever wondered while looking at two of the most exotic tiles, like Ceramic and Porcelain: What exactly is the difference? Which one is better? Well, you are not alone! Both tiles offer style, durability, and versatility, but in different environments.
Why Choose Us

Extensive Material Range
We offer a wide selection of natural stone and porcelain products, including limestone, sandstone, slate, cobblestones, wall cladding, and outdoor porcelain tiles. Our range is carefully curated to suit both modern and traditional spaces.

Unique Designs
Each Stonecera product is chosen for its distinctive texture, colour, and finish. From timeless natural stone to contemporary porcelain slabs, our collections help create spaces that stand out with character and style.

Expert Guidance
Our experienced team provides honest advice to help you choose the right material for your project. Whether it's a patio, driveway, wall cladding, or interior space, we guide you at every step with practical product knowledge.

Sustainable Sourcing
We work with trusted quarries and manufacturers that follow responsible sourcing practices. Our focus is on durability, ethical sourcing, and materials designed to last for years with minimal environmental impact.

Unmatched Quality
Quality is at the heart of Stonecera. Every product is selected to meet high standards of strength, finish, and performance, ensuring long-lasting results for residential and commercial projects.

Customization Options
Choose from multiple sizes, finishes, colours, and textures to match your design vision. Our versatile product options make it easy to tailor stone and porcelain solutions to your exact project requirements.
Get In Touch
We'd love to hear from you! Fill the form below.